Table of Contents
ToggleCabinet refinishing can turn dated kitchen cabinets into showpieces without the gut-wrenching cost of replacement. Instead of ripping out perfectly functional boxes and spending $10,000–$25,000 on new cabinetry, refinishing lets homeowners update the look for a fraction of that price, often under $1,000 for a DIY project. The process involves stripping or sanding existing finish, repairing any damage, and applying fresh stain or paint. It’s a weekend-to-week project depending on kitchen size, and the results rival professional remodels when done right.
Key Takeaways
- Cabinet refinishing costs 70–80% less than replacement ($700–$1,500 DIY vs. $8,000–$25,000 new) while delivering comparable aesthetic results in just 3–7 days.
- Proper preparation—especially degreasing, sanding, and labeling—accounts for 70% of refinishing success and prevents common failures like poor adhesion and misaligned doors.
- Choosing the right primer and finish matters: bonding primers prevent bleed-through on old finishes, while thin coats of quality paint or polyurethane dry faster and level better than thick applications.
- Cabinet refinishing returns 70–100% of its cost at resale, making it one of the highest ROI home improvements when done correctly with appropriate drying times and environmental conditions.
- Trending 2026 cabinet finishes favor matte or satin sheens in earthy greens and warm grays, allowing homeowners complete control over color and design without the weeks of disruption that full replacement requires.
- Environmental conditions between 60–80°F with humidity below 70% are critical for proper curing; rushing the process or ignoring ventilation ruins finishes and requires starting over.
What Is Cabinet Refinishing and How Does It Work?
Cabinet refinishing is the process of renewing the surface of existing cabinet boxes and doors without replacing the underlying structure. The old finish, whether stain, paint, or varnish, is removed through chemical stripping, sanding, or a combination of both. Once bare wood is exposed (or the existing paint is properly deglossed), a new finish is applied.
This differs from refacing, which replaces doors and drawer fronts while veneering the cabinet boxes, and full replacement, which tears out everything. Refinishing works only when the cabinet boxes are solid wood or wood veneer in good structural condition. Particleboard or thermofoil cabinets often can’t handle the sanding and moisture involved.
The basic workflow involves removing doors and hardware, cleaning all surfaces, stripping or sanding, filling any dents or scratches with wood filler, priming (if painting), and applying topcoats. Depending on the desired outcome, the final layer might be polyurethane over stain for a natural wood look, or alkyd enamel or acrylic latex paint for a painted finish.
Most kitchen cabinet refinishing projects take three to seven days, including drying time between coats. Working in a garage or ventilated workspace speeds things up and improves finish quality.
Benefits of Refinishing Your Cabinets Instead of Replacing
Cost savings top the list. New semi-custom cabinets run $150–$400 per linear foot installed, while refinishing the same kitchen typically costs $3–$10 per square foot of surface area, or $700–$1,500 for a mid-sized kitchen if DIY. Even hiring a pro to refinish costs $2,000–$5,000, half or less than replacement.
Refinishing also keeps functional cabinets out of the landfill. Solid wood or plywood cabinets built before the 1990s are often higher quality than today’s budget replacements. Stripping them down reveals tight joinery and hardwood that’ll outlast modern particleboard.
Speed matters too. A full replacement involves demo, possible wall repair, re-plumbing, countertop removal, and weeks without a functional kitchen. Refinishing leaves the layout intact and lets homeowners resume cooking as soon as the final coat dries.
Finally, refinishing gives total control over color and sheen. Trending finishes in 2026 lean toward matte or satin sheens in earthy greens, warm grays, and two-tone combinations (darker lowers, lighter uppers). Staining can bring out grain in ways factory finishes never did, especially if the original stain was too dark or orange.
Step-by-Step Guide to Refinishing Cabinets Yourself
Preparing Your Cabinets for Refinishing
Prep accounts for 70% of a successful refinish. Start by removing all doors, drawer fronts, and hardware. Label each piece with painter’s tape and a number corresponding to its location, upper left, lower right, etc. This saves hours during reinstallation.
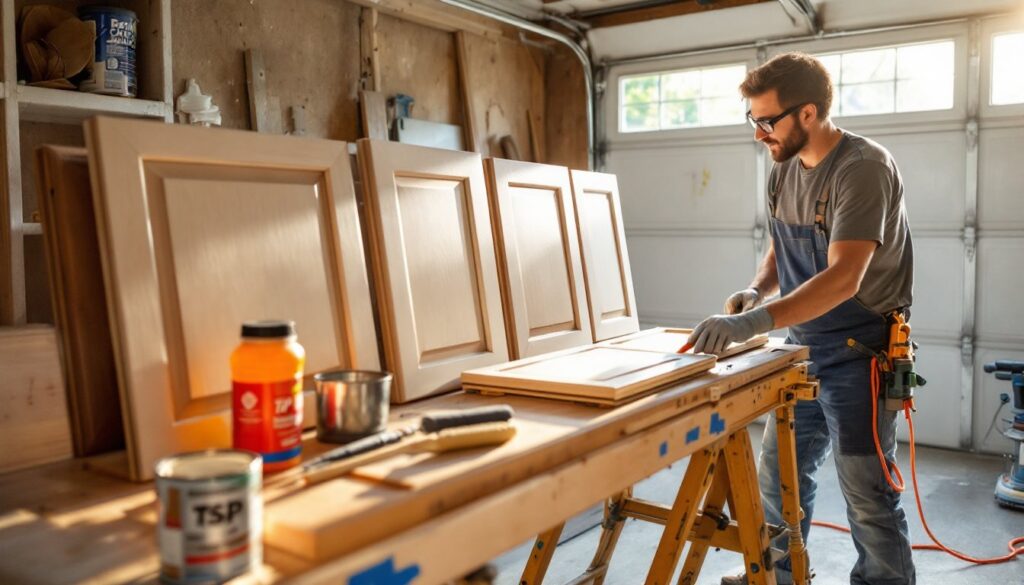
Clean every surface with a degreaser like TSP (trisodium phosphate) or a TSP substitute. Kitchen cabinets collect years of cooking grease, which will prevent new finishes from adhering. Wear nitrile gloves and eye protection: TSP is caustic.
Next, decide on stripping or sanding. Chemical strippers work faster on thick, multi-layer finishes or intricate molding. Apply with a cheap brush, wait 15–30 minutes (follow label instructions), then scrape off softened finish with a plastic putty knife. Work outdoors or in a well-ventilated garage: fumes are intense even with “low-odor” formulas. Sand lightly with 150-grit paper after stripping to remove residue.
If the existing finish is thin or you’re repainting a previously painted surface, skip the stripper and sand with a random orbital sander using 120-grit discs. The goal isn’t to remove every speck of old finish, just to scuff the surface so primer can grip. For tight corners and molding details, hand-sand with a folded sheet or use a detail sander.
Fill gouges and dents with wood filler (for natural stain) or spackling compound (for paint). Let it cure fully, usually two hours, then sand flush with 180-grit paper. Vacuum all dust with a shop vac, then wipe surfaces with a tack cloth or damp microfiber rag.
Applying Stain or Paint for a Professional Finish
For a natural wood look, apply oil-based or water-based stain with a foam brush or lint-free rag. Work in the direction of the grain, applying an even coat and wiping off excess after five minutes. Let dry per label (typically 4–6 hours for water-based, 12–24 for oil-based). Apply a second coat if deeper color is desired.
Seal stain with three coats of water-based polyurethane (less yellowing) or oil-based poly (more durable, but amber tint). Use a quality synthetic brush or foam roller. Sand lightly with 220-grit between coats and wipe clean. Allow 2–4 hours between coats for water-based, 8–12 for oil-based. Total cure time is seven days before the finish can withstand daily wear.
For painted cabinets, start with a bonding primer like KILZ Adhesion or Zinsser B-I-N shellac-based primer. This step is non-negotiable, it prevents tannin bleed and ensures topcoat adhesion. Roll primer onto flat surfaces with a 4-inch foam roller for minimal texture. Brush detailed areas.
Once primer dries (1–2 hours), apply the first topcoat of cabinet-grade paint, either alkyd enamel or acrylic latex labeled for cabinets. Alkyd (oil-modified) paints level beautifully but take longer to dry and smell strong. Acrylic latex dries faster and cleans up with water but requires more careful brushwork to avoid roller stipple.
Apply two to three thin coats rather than one thick coat. Thin coats dry faster, level better, and resist drips. Lightly sand with 320-grit between coats if any dust nibs or brush marks appear. The final coat should cure for at least 72 hours before reinstalling doors: full hardness takes up to two weeks.
Those who want additional woodworking inspiration often explore custom trim or cabinet door styles to pair with freshly refinished frames.
Common Mistakes to Avoid During Cabinet Refinishing
Skipping degreasing leads to adhesion failure. Even clean-looking cabinets have an invisible film. TSP or a heavy-duty cleaner is mandatory.
Not labeling doors creates a jigsaw puzzle during reinstallation. Doors rarely fit perfectly in any slot due to slight warping or hinge placement. Number everything.
Applying thick coats causes drips, sags, and extended dry times. Patience pays off. Two thin coats always outperform one heavy coat.
Using the wrong primer invites bleed-through and peeling. Bonding primers are formulated to stick to slick surfaces like old varnish or laminate. Standard drywall primer won’t cut it.
Ignoring environmental conditions ruins finishes. Painting in high humidity or temperatures below 50°F prevents proper curing. Ideal conditions are 60–80°F with relative humidity below 70%. A box fan and dehumidifier help.
Reinstalling hardware too soon scratches fresh paint and dents uncured finishes. Wait the full cure time listed on the paint can, usually a week minimum for heavy-use surfaces like cabinets.
Forgetting PPE is dangerous. Sanding produces fine dust that irritates lungs: wear a N95 or P100 respirator. Chemical strippers and oil-based finishes off-gas VOCs: ventilate aggressively and use a respirator rated for organic vapors. Safety glasses and gloves are non-negotiable.
Professionals following proven cabinet refinishing techniques stress the importance of ventilation and drying time to avoid common failures.
How Much Does Cabinet Refinishing Cost in 2026?
DIY cabinet refinishing costs $200–$700 in materials for an average 10×10 kitchen (20 doors, 10 drawers). Budget breakdown:
- Stripper or sandpaper: $40–$80
- Primer (1 gallon): $30–$50
- Paint or stain (1–2 quarts): $60–$120
- Polyurethane or topcoat (1 quart): $25–$60
- Brushes, rollers, tack cloths, drop cloths: $50–$100
- Wood filler, TSP, misc supplies: $30–$50
Adding new hardware (handles and hinges) runs another $50–$200 depending on style and quantity. European soft-close hinges cost $3–$8 each: brushed nickel pulls average $2–$6 per piece.
Professional refinishing ranges from $2,000 to $5,000 for the same kitchen, depending on geographic region, finish complexity (distressed or glazed finishes cost more), and door count. Urban markets on the coasts skew higher: Midwest and Southern markets run 20–30% lower.
By comparison, cabinet refacing costs $4,000–$9,000, and full replacement starts at $8,000 and easily exceeds $25,000 for custom builds.
Timeline for DIY: expect 3–5 full days of active work spread over one to two weeks to allow for drying. Hiring a pro shortens the calendar to 3–5 business days but requires the kitchen to be out of commission during that window.
For homeowners tackling multiple DIY projects, beginner-friendly tutorials offer guidance on tool selection and finish application methods that translate well across different refinishing tasks.
Cabinet refinishing is one of the highest ROI home improvements in 2026, returning 70–100% of cost at resale in most markets. It modernizes the kitchen without the structural and financial disruption of replacement, making it a smart choice for homeowners planning to sell within five years or simply wanting a fresh look on a budget.