Table of Contents
ToggleIf you’re tired of fighting for space in your main fridge or hauling coolers for backyard gatherings, a dedicated beverage refrigerator can solve that problem neatly. These appliances keep drinks cold, visible, and ready to grab, whether it’s beer after a long project, soda for the kids, or sparkling water for guests. Unlike a standard fridge, a drink refrigerator is built specifically for bottles and cans, often with adjustable shelving, glass doors, and compact footprints that fit under counters, in garages, or tucked into home bars. This guide walks through everything needed to pick the right unit, install it correctly, and keep beverages at the perfect temperature year-round.
Key Takeaways
- A beverage refrigerator frees up kitchen space and keeps drinks organized by storing beverages separately from groceries at optimal serving temperatures between 33°F and 50°F.
- Choose a beverage refrigerator with adjustable shelving, temperature control, and a cooling method suited to your location—compressor models for garages and thermoelectric units for climate-controlled spaces.
- Verify placement options match your unit’s design: front-venting models fit under counters, while rear-venting units need 3–6 inches clearance on all sides for proper airflow.
- Proper installation requires leveling the unit, allowing 24 hours for refrigerant to settle, and confirming electrical requirements meet National Electrical Code standards for dedicated circuits.
- Regular maintenance like cleaning condenser coils every 6 months and wiping door gaskets monthly ensures your beverage refrigerator runs efficiently and extends its lifespan for years of use.
What Is a Beverage Refrigerator and Why Do You Need One?
A beverage refrigerator is a specialized cooling appliance designed to store drinks at optimal serving temperatures, typically between 33°F and 50°F. Unlike a full-size kitchen refrigerator that handles everything from leftovers to produce, a drinks refrigerator focuses solely on beverages, cans, bottles, kegs, and even wine in dual-zone models.
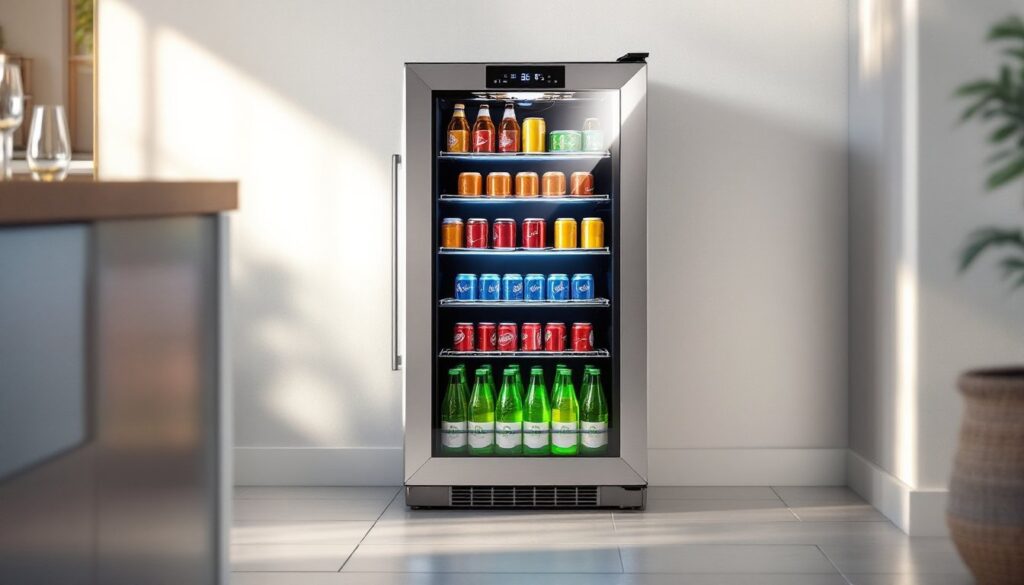
Most units feature glass doors for visibility, LED lighting, and shelving configured specifically for drink containers. A beverage refrigerator with glass door makes it easy to see inventory at a glance, which is helpful during parties or when restocking. These appliances range from compact countertop models holding 60 cans to full-height units storing 400+ beverages.
Why add one? Organization and capacity. A bar refrigerator keeps entertaining supplies separate from groceries, freeing up kitchen space and preventing the main fridge from getting overcrowded before gatherings. A beer refrigerator often includes features like low-vibration compressors (which prevent sediment disturbance in craft brews) and humidity controls that preserve labels and packaging.
Another practical angle: placement flexibility. A drink refrigerator small enough to fit under a counter can turn a basement corner into a functional wet bar. Garage installations are popular for workshops and game-day setups. Because these units are built for fluctuating ambient temperatures (many are garage-ready with climate control), they handle conditions that would overwork a standard fridge.
If you entertain regularly, stock bulk beverages, or simply want cold drinks without opening the main fridge a dozen times a day, a mini bar refrigerator or larger soda refrigerator makes sense. It’s a single-purpose tool that does one job very well.
Key Features to Consider When Buying a Beverage Refrigerator
Choosing the right unit means matching features to your space, usage, and drink preferences. Here’s what matters most.
Capacity and Storage Configuration
Capacity is measured in can count or cubic feet. A typical can refrigerator holds anywhere from 60 to 400 standard 12-ounce cans, depending on size. Manufacturers often quote capacity based on single-stacking, so actual storage may differ if you mix bottle sizes or use thicker craft beer cans.
Check shelf design:
- Wire racks allow airflow and are adjustable, but bottles can tip.
- Slide-out shelves make accessing back rows easier, especially in deeper units.
- Removable or reversible shelves let you customize height for wine bottles, growlers, or 2-liter bottles.
If you stock a mix of beverages, look for models with adjustable dividers or split shelving. Some beer refrigerators include dedicated zones for kegs or taller bottles, which is worth considering if you homebrew or prefer variety packs.
Door storage is another variable. Some beverage refrigerator models add door racks for extra capacity, but this can reduce overall cooling efficiency and increase door swing clearance needed during installation.
Temperature Control and Cooling Technology
Temperature range matters. Most drink refrigerators operate between 32°F and 50°F, but verify the range matches your needs:
- Beer and soda: 35°F–38°F
- Wine (if dual-zone): 45°F–55°F
- Energy drinks and sparkling water: 33°F–36°F
Digital thermostats provide precise control and are easier to adjust than dial knobs. Some units offer dual-zone cooling, which splits the interior into separate temperature zones, useful if you want to chill lagers at 38°F and store red wine at 50°F in the same appliance.
Cooling method affects noise and efficiency:
- Compressor-based: More common, faster cooling, handles higher ambient temperatures. Expect slight vibration and occasional compressor noise.
- Thermoelectric: Quieter, no vibration, but struggles in hot environments (garages above 80°F). Best for climate-controlled spaces.
Look for auto-defrost if you’re installing in a humid area (basement, garage). Manual defrost units require periodic shutdown and water drainage, which is inconvenient if the fridge is always stocked.
Energy efficiency varies. Check the Energy Star rating if utility costs matter. Compressor models with improved insulation and variable-speed fans use less power while maintaining consistent temperatures. Some units also feature eco modes that reduce energy draw during low-use periods.
Best Placement Options for Your Beverage Refrigerator
Where you put a beverage refrigerator affects performance, accessibility, and code compliance. Here are the most common spots and what to watch for.
Kitchen or wet bar: Built-in or freestanding units work here. If installing under a counter, verify the unit is designed for built-in use (front-venting). Standard freestanding models vent from the back and need 3–6 inches clearance on all sides for airflow. Measure the cabinet opening carefully, most undercounter beverage refrigerators are 24 inches deep (matching standard base cabinets) but widths vary from 15 to 24 inches.
Garage: Popular for workshops and entertaining. Confirm the model is garage-ready or rated for ambient temperatures outside the standard 55°F–90°F range. Uninsulated garages in cold climates can drop below freezing, which may cause compressor failure or freeze liquids. In hot climates, units not rated for higher temps will overwork and wear out faster. Position away from direct sunlight and heat sources (water heaters, dryers).
Basement or rec room: Humidity is the main concern. Basements with poor ventilation or moisture issues can cause condensation on glass doors and rust on hinges. Use a dehumidifier if relative humidity exceeds 60% consistently. Concrete floors are fine, but ensure the unit sits level, use adjustable leveling feet (most models include them) to prevent door-seal gaps.
Outdoor kitchens: Only use models specifically rated for outdoor use. Standard beverage refrigerators aren’t weatherproofed and will fail quickly if exposed to rain, humidity, or temperature swings. Outdoor-rated units have sealed components, stainless steel exteriors, and drainage systems. They’re pricier but necessary for patios or covered decks.
Electrical requirements: Most plug into standard 120V outlets and draw 1–3 amps. Use a dedicated circuit if possible, especially for larger compressor models, to avoid tripping breakers when other appliances run simultaneously. Avoid extension cords, they’re a fire hazard and often violate National Electrical Code (NEC) Article 422.16, which requires appliances to connect directly to outlets. If the nearest outlet is more than 6 feet away, have a licensed electrician install a new receptacle.
Check local codes for placement in garages or basements. Some jurisdictions require GFCI outlets for appliances in damp locations, per NEC Article 210.8.
Installation Tips and DIY Considerations
Installing a beverage refrigerator is straightforward for freestanding models but requires careful planning for built-ins. Here’s how to handle both.
Freestanding installation:
- Unbox and acclimate: Let the unit sit upright for 24 hours before plugging in. This allows refrigerant to settle after shipping.
- Level the unit: Use a 4-foot level across the top and front. Adjust leveling feet until the bubble centers. An unlevel fridge stresses door hinges and can cause poor door seals.
- Allow clearance: Rear- and side-venting models need 3–6 inches on all sides. Front-venting units only need clearance at the front grille.
- Plug in and test: Set the temperature to 36°F and let it run empty for 4 hours before loading beverages. This confirms the compressor cycles correctly and cooling is consistent.
Built-in or undercounter installation:
- Measure the opening: Standard undercounter openings are 24 inches deep, 34.5 inches high, and 15–24 inches wide. Verify the refrigerator dimensions match, accounting for door swing clearance (usually adds 1–2 inches to width).
- Check ventilation: Built-in models vent through the front toe kick grille. Blocking this with trim or cabinetry will overheat the compressor. Leave the grille fully open.
- Secure the unit: Some models include mounting brackets to anchor the fridge to surrounding cabinetry. Use wood screws (typically #8 x 1 inch) into cabinet sides, not drywall.
- Trim kits: If the fridge is narrower than the opening, use a manufacturer trim kit to fill gaps. Generic trim rarely fits correctly.
Electrical and plumbing: Most beverage refrigerators don’t require water lines (no ice makers). If yours includes one, follow the manufacturer’s instructions for connecting to a 1/4-inch copper or braided supply line. Shut off water at the main valve before connecting, and check for leaks after turning it back on.
Safety notes:
- Wear work gloves when handling sharp sheet metal edges during unboxing.
- If moving a heavy unit solo, use an appliance dolly with straps. Full-size beverage refrigerators can weigh 150+ pounds.
- Never tip a fridge more than 45 degrees, this can damage the compressor or cause oil leaks.
DIY-friendly? Yes, for freestanding models. Built-in installations are manageable if you’re comfortable with basic carpentry and have measured carefully. If cutting into cabinetry or running new electrical, consider hiring a pro. Mistakes in cabinet cuts or wiring aren’t easily reversed and may void warranties.
Permit requirements: Standalone plug-in units rarely require permits. If you’re adding a dedicated circuit or modifying cabinetry in a load-bearing wall, check with your local building department. Most jurisdictions require permits for electrical work beyond replacing outlets.
Maintenance reminders: Clean the condenser coils every 6 months using a coil brush or vacuum attachment. Dust buildup reduces efficiency and shortens compressor life. Wipe door gaskets monthly with warm water to prevent mold and maintain a tight seal. For reviews of specific models, including compact options ideal for smaller spaces, resources like best beer fridges provide tested comparisons across brands.
Conclusion
A beverage refrigerator adds convenience, organization, and dedicated cooling exactly where it’s needed, whether that’s in the garage, under the kitchen counter, or in a basement bar. By matching capacity to usage, choosing the right cooling technology, and planning placement carefully, homeowners can install a unit that handles everything from daily hydration to large gatherings without hassle. Measure twice, level carefully, and ensure proper ventilation, and the fridge will run quietly and efficiently for years.