Table of Contents
ToggleA hidden water leak can cost homeowners thousands in damage before they even notice damp drywall or a spike in their water bill. Whether it’s a slow drip behind a washing machine or a pipe sweating inside a wall cavity, catching leaks early saves money, prevents mold growth, and protects structural integrity. Modern leak detectors, from simple sensors to wifi-enabled monitors, give DIYers and cautious homeowners the tools to spot trouble before it escalates. This guide walks through detector types, selection criteria, and practical use so anyone can track down leaks confidently and decide when to grab a wrench or call a pro.
Key Takeaways
- A leak detector can prevent thousands of dollars in water damage by catching leaks early, before they cause mold growth, structural damage, or costly insurance claims.
- Leak detectors come in three main types: electronic sensors with alarms, wifi-enabled monitors with smartphone alerts, and acoustic tools for pinpointing hidden leak locations.
- High-risk areas like water heater drip pans, under sinks, behind toilets, and basement floors should each have at least one residential leak detector sensor installed.
- Battery-powered standalone sensors work during power outages but require annual changes, while wifi models cost more but provide remote monitoring and integration with smart home systems.
- When an alarm triggers, immediately shut off the nearest isolation valve or main water supply, then mop up standing water with towels and a wet/dry vacuum to prevent subfloor damage.
- Monthly testing, documentation of events with photos, and regular sensor maintenance ensure your leak detection system remains reliable and ready to protect your home.
What Is a Leak Detector and Why Every Homeowner Needs One
A leak detector is a device that senses unwanted water and alerts a homeowner before minor seepage becomes major damage. The simplest versions are battery-powered sensors placed on floors near water heaters, under sinks, or beside sump pumps: they emit a loud alarm when moisture bridges two contact probes. More advanced wifi leak detectors send push notifications to a smartphone and integrate with smart-home ecosystems, letting someone shut off water remotely or monitor humidity trends over time.
Why bother? The average insurance claim for water damage runs several thousand dollars, and many policies exclude “slow leaks” that homeowners should have caught during routine inspections. A $30 sensor under a toilet can prevent a rotted subfloor: a $150 wifi system can catch a burst supply line while the family is on vacation. Leak detectors also help pinpoint hidden problems, such as underground supply-line leaks or condensation inside HVAC ducts, that would otherwise go unnoticed until paint bubbles or joists sag.
Beyond cost savings, early detection protects indoor air quality. Persistent moisture feeds mold spores, which colonize drywall, insulation, and framing lumber within 24 to 48 hours. Mold remediation often requires cutting out affected materials and treating studs with biocide, a messy, expensive process that a timely alarm could have prevented.
Types of Leak Detectors for Different Home Applications
Choosing the best leak detector depends on where leaks are likely and how much automation is wanted. Below are the main categories, with use cases and trade-offs.
Electronic Water Leak Detectors
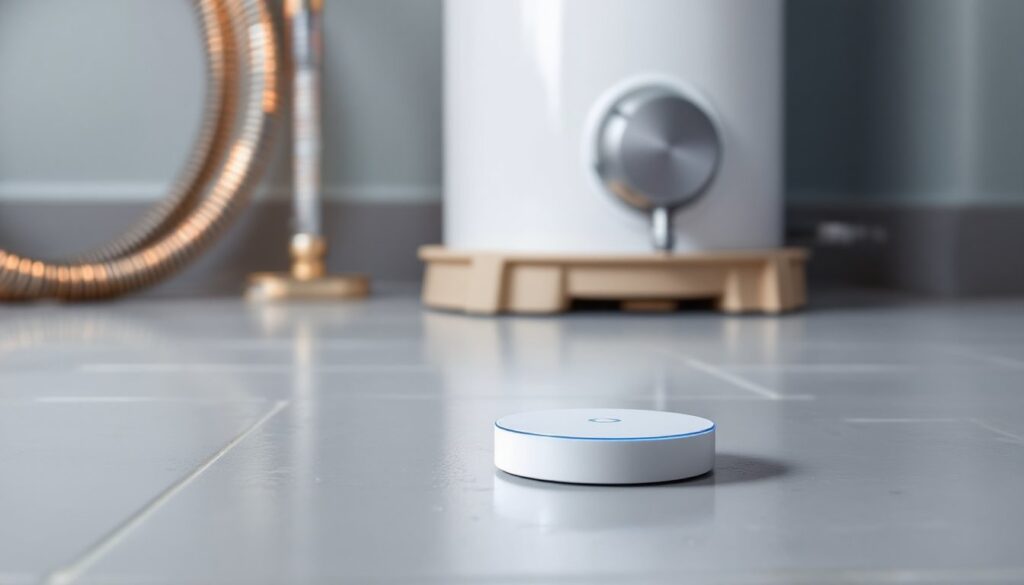
Electronic models rely on conductivity sensors, two metal contacts that complete a circuit when water bridges them, triggering an audible alarm or digital alert. Entry-level units are standalone pucks or mats powered by a 9V or AA battery, costing $15 to $40 each. Place them in drip pans under water heaters, beneath washing-machine hoses, near dishwasher connections, or on basement floors prone to seepage. Most emit an 85–95 dB alarm, loud enough to wake someone two rooms away.
Wifi water leak detectors add remote monitoring. Brands such as Flo by Moen, Honeywell Lyric, and Govee pair sensors with a hub or connect directly to a home router, sending alerts via app when water is detected. Some high-end systems include automatic shut-off valves that close the main supply line upon alarm, useful for vacation homes or properties with a history of burst pipes. Expect to pay $100 to $500 for a best wifi water leak detector setup, plus optional subscription fees for cloud logging and extended warranties.
A water leak detector sensor can also monitor temperature and humidity, flagging conditions ripe for condensation even before liquid pools. This feature suits basements, crawl spaces, and attics where slow evaporation hides trouble until damage is severe.
Acoustic and Ultrasonic Leak Detection Tools
When a leak is confirmed but the exact location is unknown, say, water is pooling in a ceiling but no visible pipe defect appears, an acoustic leak detector tool listens for the hiss or vibration of escaping water. Professional-grade models use ultrasonic transducers and noise-canceling headphones to isolate leak frequencies (typically 300 Hz to 10 kHz) from ambient sounds like HVAC fans or traffic.
DIY-friendly versions, priced $50 to $200, combine a contact probe with an analog or digital meter. Press the probe against a water pipe, valve body, or wall surface: a rising needle or LED bar indicates higher acoustic activity. This method works best on metallic supply lines (copper, galvanized steel) because sound travels efficiently through metal. PEX and CPVC pipes dampen vibrations, making acoustic detection less reliable.
For underground water leak detector work, finding breaks in buried supply lines between the street and the house, consider renting or hiring. Professional equipment uses ground microphones and correlating software to triangulate leak positions within inches. Digging blind is expensive: spending $200 on a service call can save thousands in unnecessary excavation.
Acoustic tools are not substitutes for sensors: they diagnose where to dig or cut, while sensors provide continuous monitoring.
How to Choose the Right Leak Detector for Your Home
Start by mapping risk zones. Walk through the house with a notepad and mark every water connection: under sinks, behind toilets, near the water heater, washing machine, refrigerator ice-maker line, HVAC condensate drain, and sump-pump discharge. Add any history of leaks, previous insurance claims, stained ceilings, or musty odors. Each high-risk spot deserves at least one water leak detector residential unit.
Battery versus plug-in: Battery-powered sensors are portable and work during power outages, but require annual battery swaps. Plug-in models or those with USB power never need fresh cells but become useless if the circuit trips. For critical locations like a water-heater drip pan, redundancy, one battery sensor plus one smart plug-in, offers peace of mind.
Connectivity: A standalone alarm suffices if someone is home most of the time and can respond quickly. Wifi or Z-Wave sensors justify their premium when the house sits empty for days, when elderly occupants may not hear alarms, or when integrating with whole-home automation (e.g., triggering lights or sending alerts to multiple phones). Check whether the system requires a proprietary hub or works with existing smart assistants like Alexa, Google Home, or Apple HomeKit.
Sensor cable length: Some leak detector sensors include extension cables, thin ribbons with conductive traces, that snake behind appliances or under floors, covering larger footprints than a single puck. A 6-foot cable can monitor the entire perimeter of a washing-machine closet.
Shut-off integration: Automatic valve systems cost more upfront but prevent catastrophic flooding. Ensure the valve is compatible with the home’s main supply-line diameter (typically ¾” or 1″ for residential) and that installation doesn’t violate local plumbing codes. Some jurisdictions require a licensed plumber to install anything on the main line.
Budget: For a typical three-bedroom home, budget $100 to $300 for a mix of standalone alarms and one or two wifi units. Add another $300 to $500 if including an automatic shut-off valve. Renters should stick with non-invasive, portable sensors that leave no permanent modifications.
Step-by-Step Guide to Using a Leak Detector
1. Install sensors in risk zones. Place units flat on the floor or in drip pans, ensuring contact probes touch the surface. Avoid carpet: sensors need direct contact with a hard floor or pan to detect pooled water. Under a water heater, center the sensor in the drip pan so any overflow hits the probes. Behind a toilet, position it near the supply-line connection and the wax-ring base, two common failure points.
2. Pair wifi models with the app. Follow the manufacturer’s QR-code or Bluetooth pairing process. Most systems require a 2.4 GHz wifi network (5 GHz is often unsupported). Enter the home wifi password, name each sensor by location (“Basement Sump,” “Kitchen Sink”), and test connectivity by triggering a manual alarm. Confirm push notifications arrive on all household smartphones.
3. Test alarms monthly. Dribble a few drops of water onto the probes or press the test button. If the alarm is silent or the app doesn’t notify, replace the battery or check wifi signal strength. Sensors tucked in metal cabinets or behind thick concrete may need a wifi extender.
4. Respond to an alert. When an alarm sounds, locate the source immediately. Often the culprit is obvious, a puddle under the dishwasher or a dripping supply hose. Shut off the closest isolation valve (the small knob or lever beneath a sink or behind a toilet) or the main water supply if the leak is severe. Mop up standing water with towels and a wet/dry vacuum to prevent subfloor damage. If the leak source isn’t visible, use an acoustic leak detector or call a plumber.
5. Document the event. Take photos of the leak and affected areas for insurance purposes. Note the date, time, and any visible damage (warped flooring, stained drywall). Even minor incidents should be logged: patterns, such as repeated condensation, may indicate a deeper problem like poor insulation or a faulty HVAC drain.
6. Dry and reinstall sensors. After cleanup, wipe sensor probes with a dry cloth to remove mineral deposits or debris. Reinstall in the same location unless the leak revealed a better placement, for example, moving a sensor closer to a valve that’s now known to weep.
Common Water Leak Locations and Detection Tips
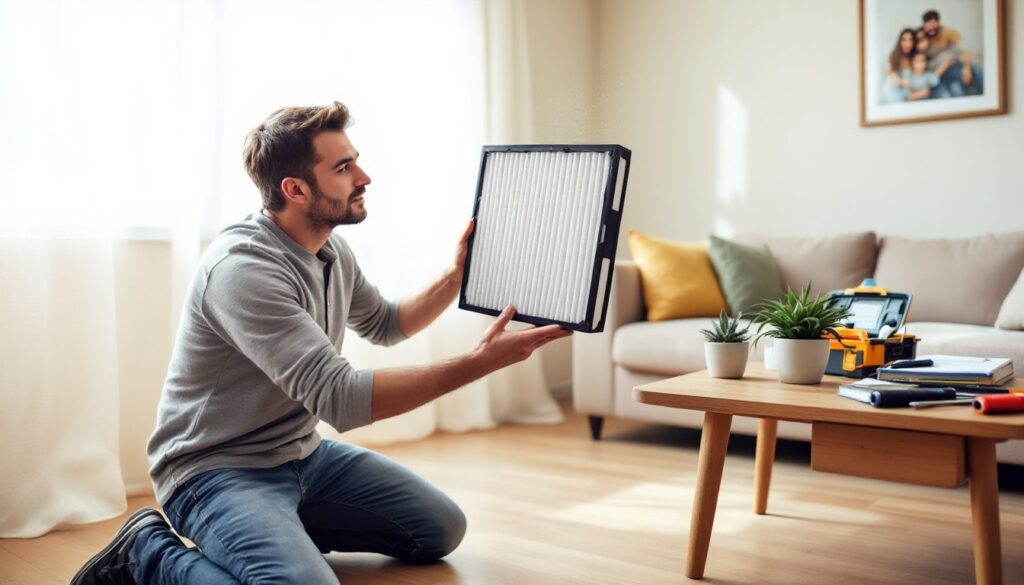
Water heaters: Tanks develop pinhole leaks as anode rods corrode and sediment accumulates. Place a home leak detector in the drip pan or on the floor directly beneath the tank. Inspect the temperature-and-pressure relief valve quarterly: a steady drip signals over-pressure or a failing valve, both of which require immediate attention. If the heater sits in a finished space, consider a wifi unit so alerts arrive even when the basement door is closed.
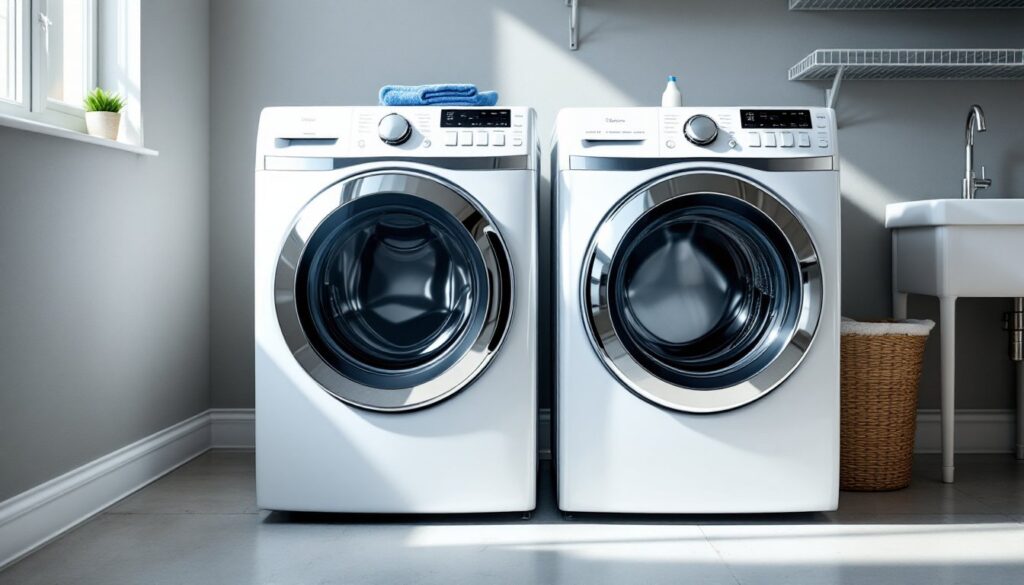
Supply lines and hose bibs: Braided stainless-steel washing-machine hoses fail less often than old rubber versions, but they still crack after five to seven years. Replace them on that schedule and keep a water line leak detector on the floor behind the washer. Outdoor hose bibs freeze and split in winter: detach hoses before the first frost and insulate bibs with foam covers. If a bib leaks indoors, through the wall cavity, an acoustic tool can trace the sound to the affected stud bay.
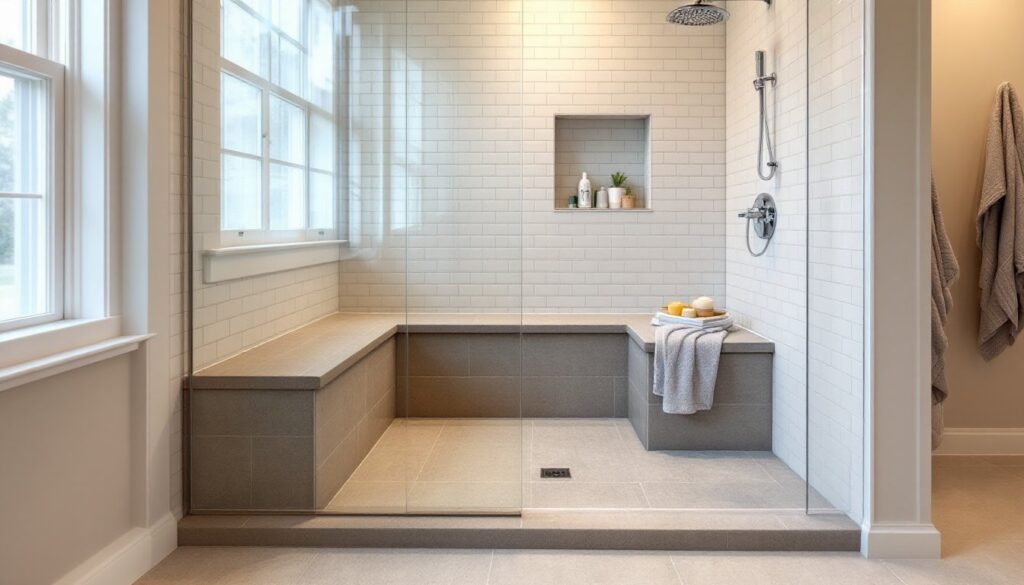
Toilets: Wax rings compress over time, letting sewer gas and water seep onto the subfloor. A musty smell or spongy flooring around the toilet base indicates a failing seal. Position a leak water detector behind the bowl, near the supply connection and along the base perimeter. Flush and watch for immediate drips: slow seepage may only appear after dozens of flushes or when someone heavy sits down, compressing the wax.
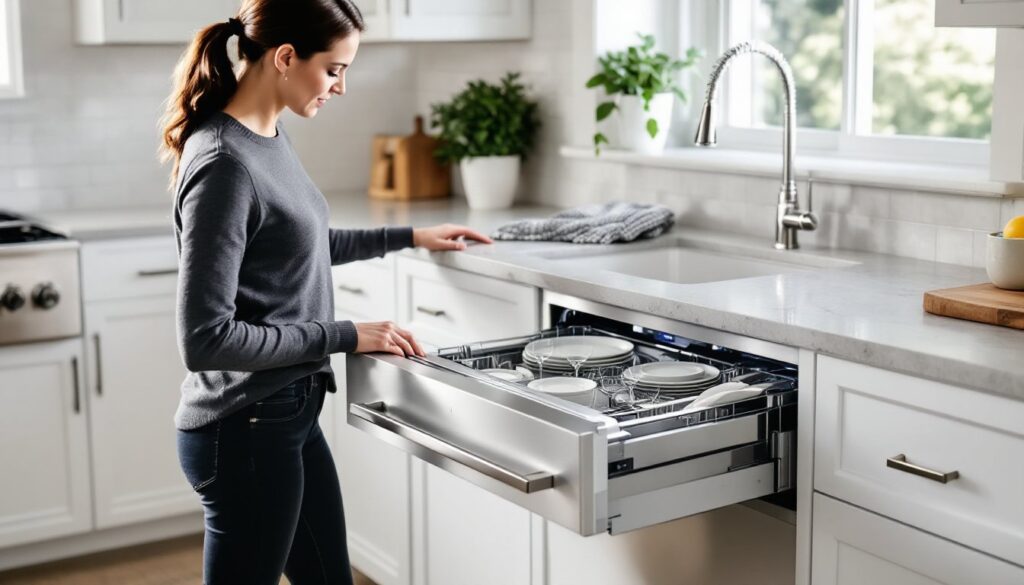
Under sinks: Drain traps loosen as plumber’s putty hardens or slip-joint nuts work free from vibration. Dishwasher drain hoses kink or crack where they connect to the garbage disposal or tailpiece. A simple sensor under the cabinet catches these before water warps the cabinet floor or drips into the basement. Inspect connections semi-annually by running water and checking joints with a dry paper towel: even a damp spot warrants tightening or re-taping with thread-seal tape.
Basements and crawl spaces: Hydrostatic pressure forces groundwater through foundation cracks, especially during heavy rain. Sensors near sump pits, floor drains, and perimeter walls alert to seepage that might otherwise go unnoticed. For homes with shallow water tables or poor drainage, a water pipe leak detector can supplement sump alarms. If water appears far from any plumbing, suspect a broken underground supply line: tracking those leaks often requires shutting off the main and watching the meter.
Hidden pipe runs: Leaks inside walls or ceilings rarely pool where they start: water follows joists, drips down studs, and emerges rooms away. An acoustic best water leak detector tool helps narrow the search. Press the probe against drywall every foot along a suspect run and listen for intensity changes. Once located, cut an access panel, drywall repair is cheaper than replacing an entire wall soaked for weeks.
HVAC condensate drains: Air handlers produce several gallons of condensate daily in humid climates. Drains clog with algae or debris, backing water into the drip pan and overflowing onto ceilings or floors. Mount a sensor in the pan and clean the drain line annually by flushing with a vinegar-water solution or using a wet/dry vacuum to suction clogs from the exterior termination. If leaks appear near HVAC equipment during cooling season, check the condensate system before blaming supply plumbing.
Safety note: Always wear nitrile gloves and safety glasses when investigating leaks, especially near water heaters (scalding risk) or sewage lines (biohazard). If black mold is visible or the odor is overwhelming, stop and consult a mold-remediation specialist: disturbing colonies without containment spreads spores throughout the HVAC system.